如何从React Native应用程序打开设置应用程序
在此示例中,我们将了解如何从 React Native 应用程序打开设置应用程序。 当您希望用户启用某些功能以使用应用程序的任何功能时,例如,如果您的应用程序需要用户位置,这种情况经常发生
然后您可以检查权限,如果未提供/限制,您可以将用户引导至设置应用程序以启用相同的权限。
在React Native中打开设置应用程序非常简单,我们可以直接在React Native中使用以下命令打开它 链接。 链接 API 提供了 打开设置() 功能将重定向到设置应用程序。本文为你介绍如何从React Native应用程序打开设置应用程序
推荐:如何检测React Native应用程序的调用状态
导入链接
import { Linking } from 'react-native'打开设置应用程序
Linking.openSettings()在此示例中,我们将通过单击按钮打开设置应用程序。 那么让我们开始吧。
制作 React Native 应用程序
React Native 入门将帮助您更多地了解如何制作 React Native 项目。 我们将使用 React Native 命令行界面来制作我们的 React Native 应用程序。
如果您之前安装了全局的react-native-cli软件包,请将其删除,因为它可能会导致意外问题:
npm uninstall -g react-native-cli @react-native-community/cli运行以下命令创建一个新的 React Native 项目
npx react-native init ProjectName如果你想使用特定的 React Native 版本启动一个新项目,你可以使用 –version 参数:
npx react-native init ProjectName --version X.XX.X注意如果上述命令失败,您可能使用的是旧版本 react-native 或者 react-native-cli 在您的电脑上全局安装。 尝试卸载 cli 并使用 npx 运行 cli。
这将在项目目录中创建一个带有名为 App.js 的索引文件的项目结构。
代码
在任何代码编辑器中打开 App.js 并将代码替换为以下代码
应用程序.js
// How to Open Settings App from React Native App
// https://aboutreact.com/open-settings-app-in-react-native/

// import React in our code
import React, {useCallback} from 'react';

// import all the components we are going to use
import {
  StyleSheet,
  Text,
  SafeAreaView,
  View,
  TouchableOpacity,
  Linking,
} from 'react-native';

const App = () => {
  const _openAppSetting = useCallback(async () => {
    // Open the custom settings if the app has one
    await Linking.openSettings();
  }, []);

  return (
    <SafeAreaView style={styles.container}>
      <View style={styles.innerContainer}>
        <Text style={styles.titleText}>
          How to open Settings App in React Native
        </Text>
        <TouchableOpacity
          activeOpacity={0.5}
          style={styles.buttonStyle}
          onPress={_openAppSetting}>
          <Text style={styles.buttonTextStyle}>
            Open the Settings App
          </Text>
        </TouchableOpacity>
      </View>
      <Text style={styles.footerHeading}>
        React Native System Settings
      </Text>
      <Text style={styles.footerText}>
        www.aboutreact.com
      </Text>
    </SafeAreaView>
  );
};

const styles = StyleSheet.create({
  container: {
    flex: 1,
    backgroundColor: '#fff',
  },
  innerContainer: {
    flex: 1,
    alignItems: 'center',
    padding: 35,
    justifyContent: 'center',
  },
  titleText: {
    fontSize: 22,
    fontWeight: 'bold',
    textAlign: 'center',
    paddingVertical: 20,
  },
  buttonTextStyle: {
    color: 'white',
    fontWeight: 'bold',
  },
  buttonStyle: {
    alignItems: 'center',
    backgroundColor: 'green',
    padding: 10,
    width: '100%',
    marginTop: 16,
  },
  footerHeading: {
    fontSize: 18,
    textAlign: 'center',
    color: 'grey',
  },
  footerText: {
    fontSize: 16,
    textAlign: 'center',
    color: 'grey',
  },
});
export default App;
运行 React Native 应用程序
再次打开终端并使用跳转到您的项目。
cd ProjectName1. 启动 Metro Bundler
首先,您需要启动 Metro,React Native 附带的 JavaScript 捆绑器。 要启动 Metro 捆绑程序,请运行以下命令
npx react-native start一旦您启动 Metro Bundler,它将永远在您的终端上运行,直到您将其关闭。 让 Metro Bundler 在自己的终端中运行。 打开一个新终端并运行该应用程序。
2.启动React Native应用程序
在 Android 虚拟设备或真实调试设备上运行项目
npx react-native run-android或在 iOS 模拟器上运行(仅限 macOS)
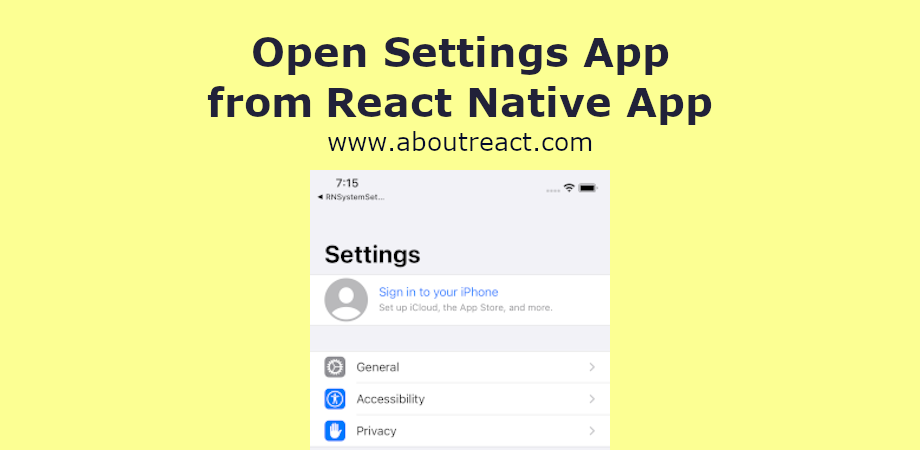
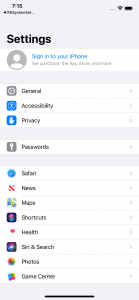
npx react-native run-ios输出截图

这是您可以从 React Native 应用程序打开设置应用程序的方法。 如果您有任何疑问或想分享有关该主题的内容,您可以在下面发表评论或在此处联系我们。 其余组件将在下一篇文章中介绍。